Managing access to a data source#
Note
It is now possible to create and manage access to data sources using our Customer Portal.
Only the data provider will be able to manage such access in the Customer Portal. If the data provider and data owner are not the same organization, the data provider will need to get approval from the data owner directly (for example through an email). Support for such approval flows in the Customer Portal will be implemented at a later time.
Please contact us at kontakt@sikt.no if you need to make changes regarding a data source that was created using Dataporten Dashboard. The dashboard is no longer available.
All data sources that are available are listed in Feide Customer Portal under the Data Source tab.
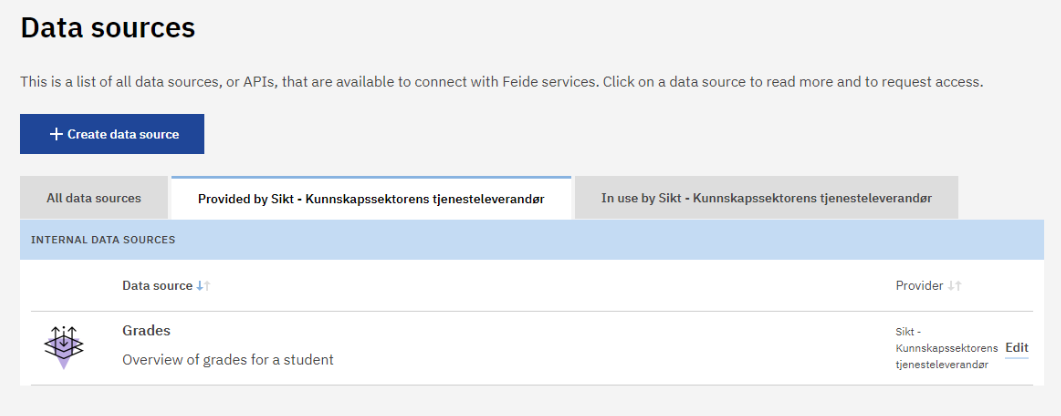
In Feide Customer Portal the data sources that the organization owns can be found in the tab “Provided by <organization name>” To manage access to the data sources, click on the data source in the list.
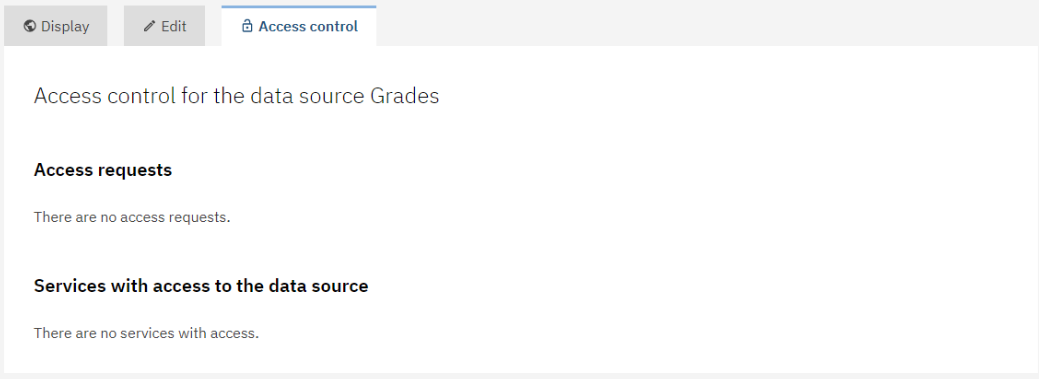
Managing access to the data source can be done under the Access control tab on the data source.
In order to be shown under “All data sources” and get requests from services for access, the data source needs to be set to Public. Setting the data source to Public can be done under the Visibility tab when editing the data source.
Under the Access control tab of the Data source, you can manage the access services will get to your data source. The service providers that want to connect to the data source need to get access to a minimum of one access level. This is done by the service provider requesting an access level in the Customer Portal.
A data source can have multiple access levels that grant access to different types of information available within the data source. These access level can have different authorization modes. There are two modes: Free access and Requires approval. Setting the authorization mode for an access level is done when registering or editing the data source under the tab “Access”.
If set to Requires approval the service needs approval from the data owner. If set to Free access the access will be granted automatically when requested, without the need for approval from the data owner. If the data, the source and the service have the same owner, the request is automatically approved.
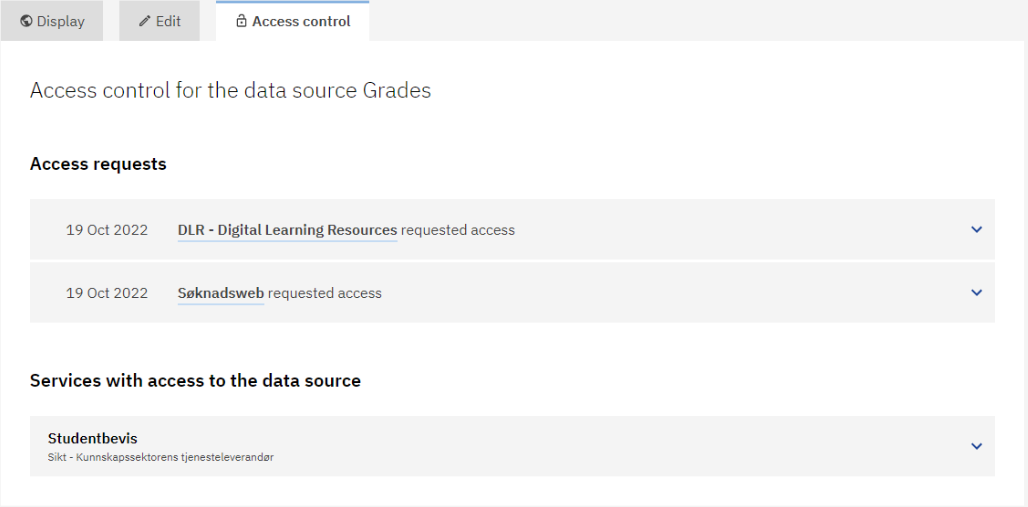
Services that have access to the data source will be listed under “Services with access to the data source” on the Access control tab.
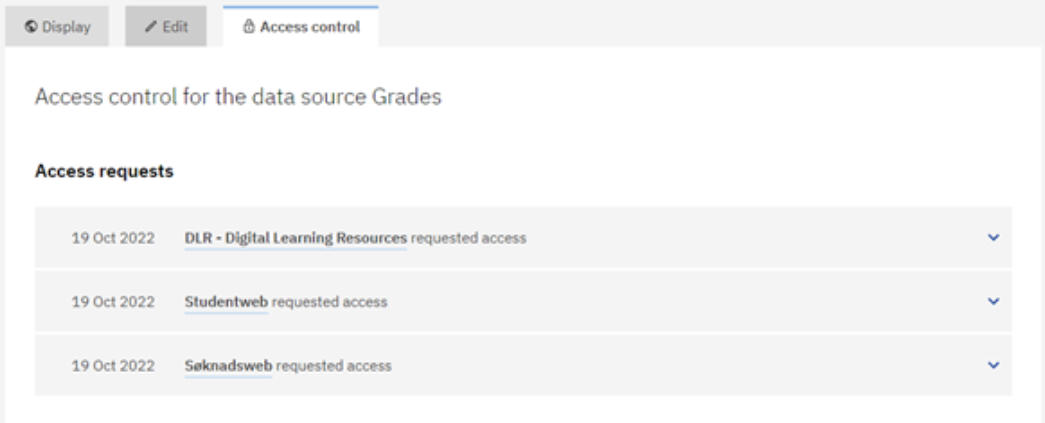
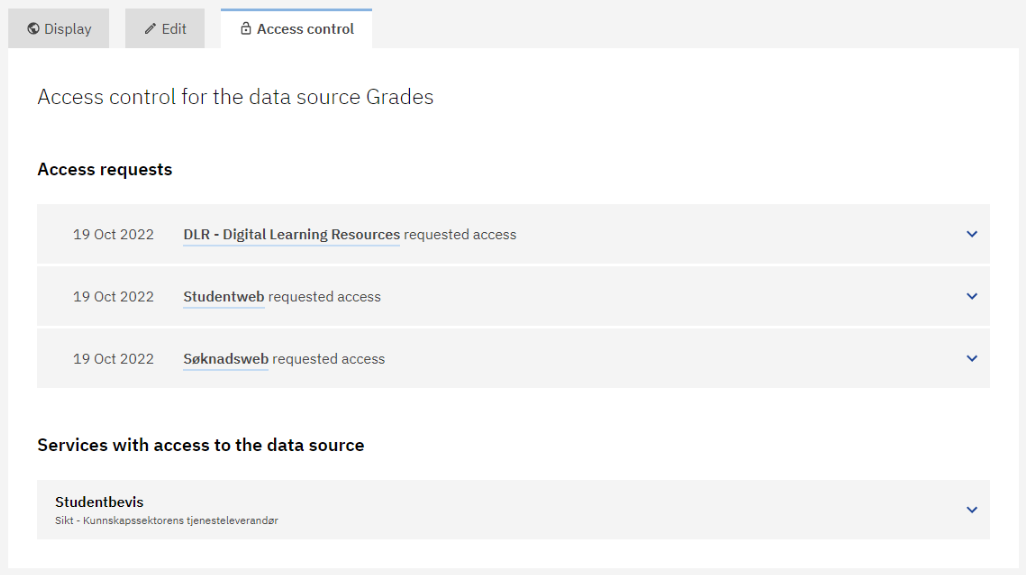
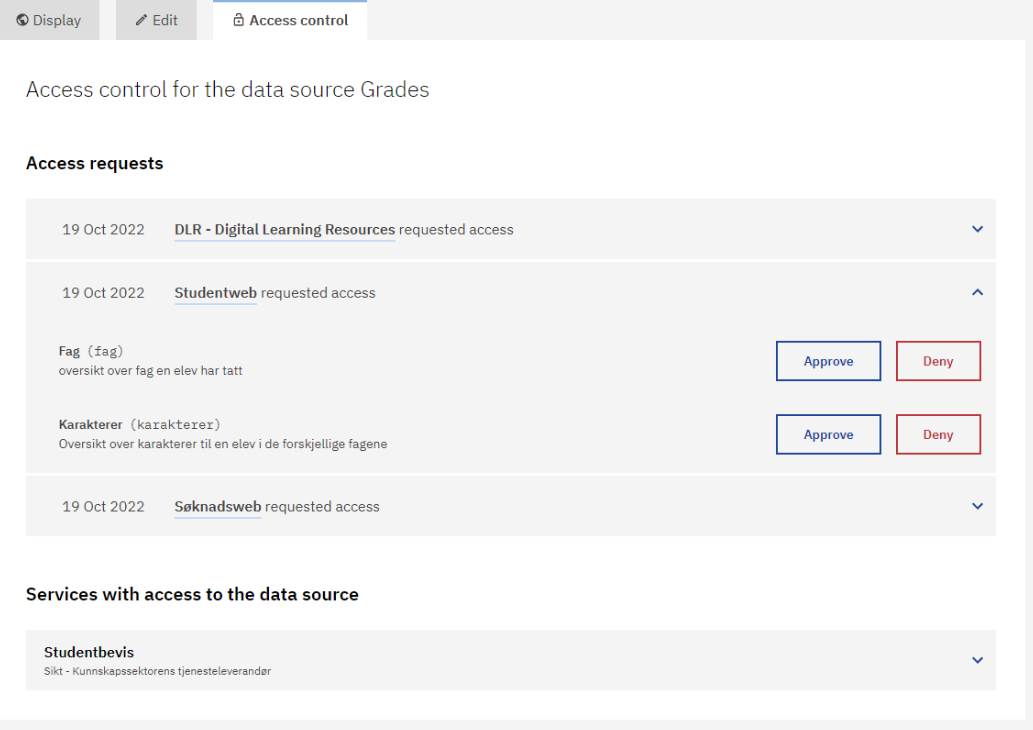
The services waiting to get their request handled can be seen under “Access request”.
Do not leave the requests unhandled, instead decline requests from services you don’t want to grant access to.
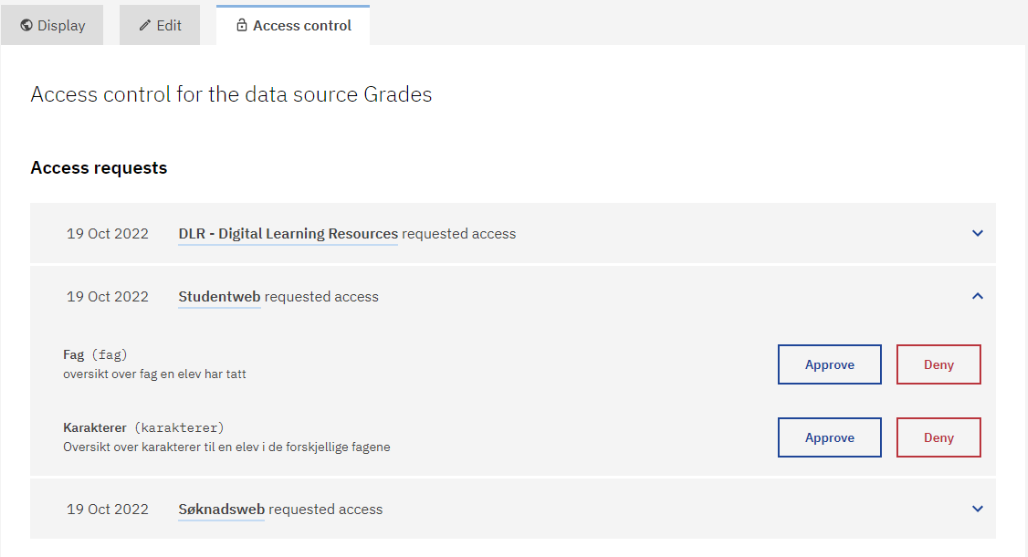
Click on the name of the service listed under Access request to see which access level the service is requesting. From there you can approve or deny access to all or some of the access levels requested.
Some services will only request one access level, needing only the corresponding information. For example, if a service only needs the name of the subjects but not the grades of student in each subject. Ultimately, the data owner decides whether to approve or deny some or all access levels that the service provider has requested.
To ensure the privacy of the end users, the data owner needs to consider whether or not the service needs or should get access to the data that they have requested. Contact the service provider directly as needed (for instance by email) to clarify how data will be used.
Please ensure that any data access is covered by existing Data Processing Agreements, and if necessary revise the agreements and any associated risk assessments.
Approving access levels#
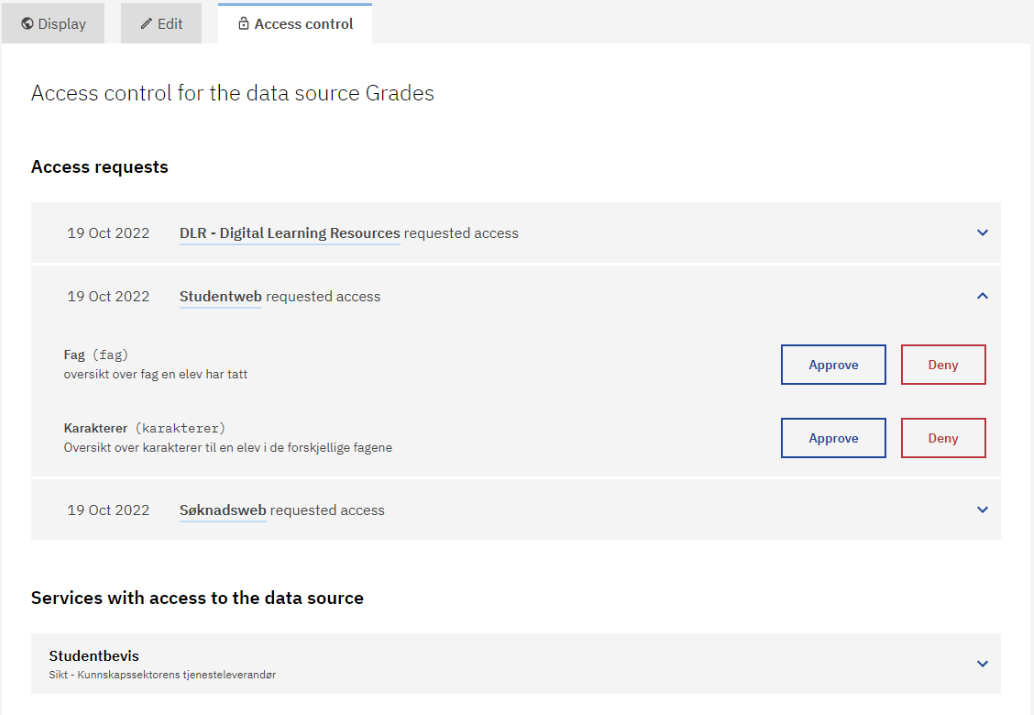
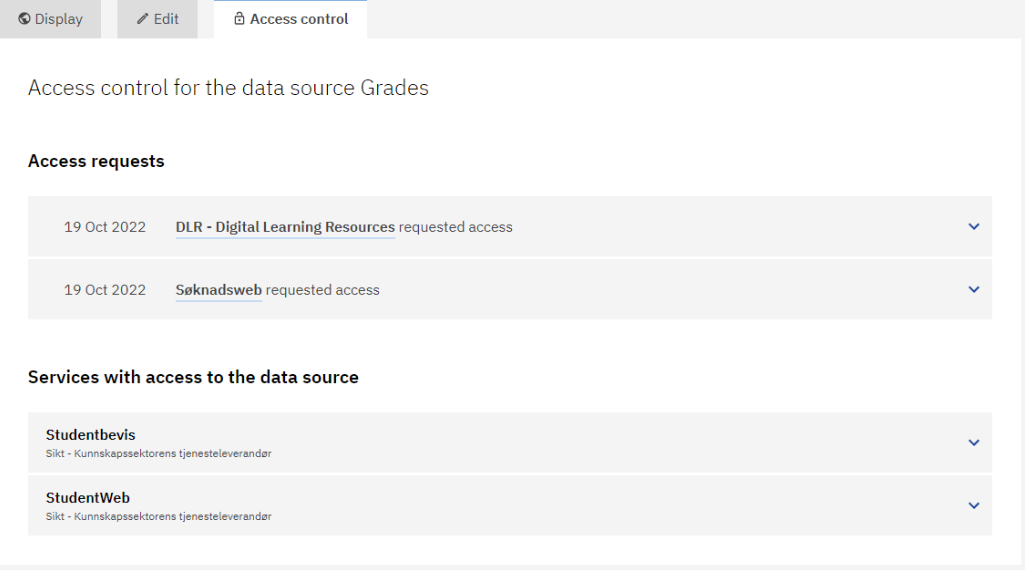
Click on “Approve” to the right of the access level and then confirm to approve service access.
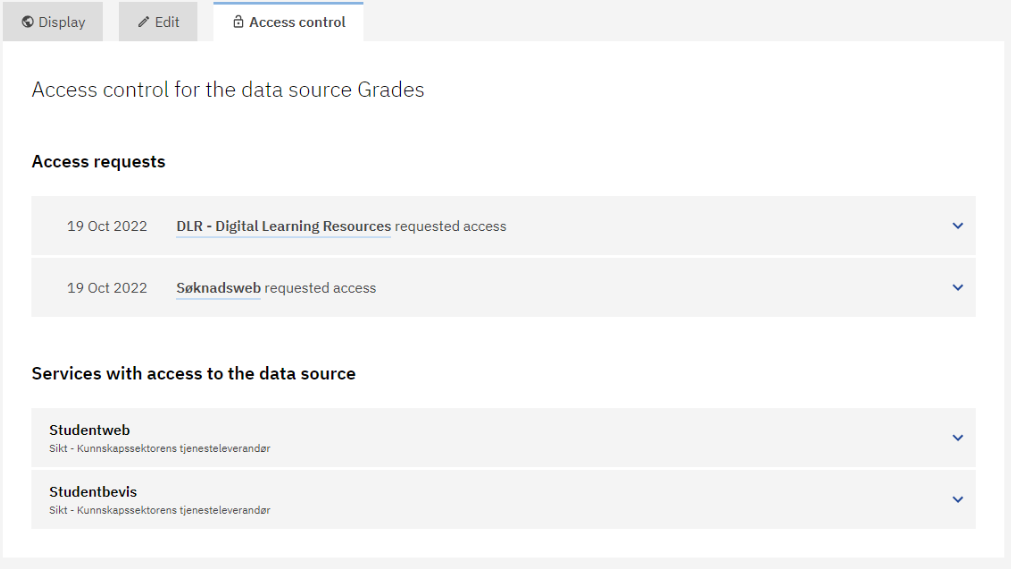
After access is approved the service wil be listed under “Services with access to the data source.”
Click on the name of a service to see what access level(s) the service has.
Denying access level#
Click on “Deny” to the right of the access level and then confirm that you want to deny the service the access level requested.
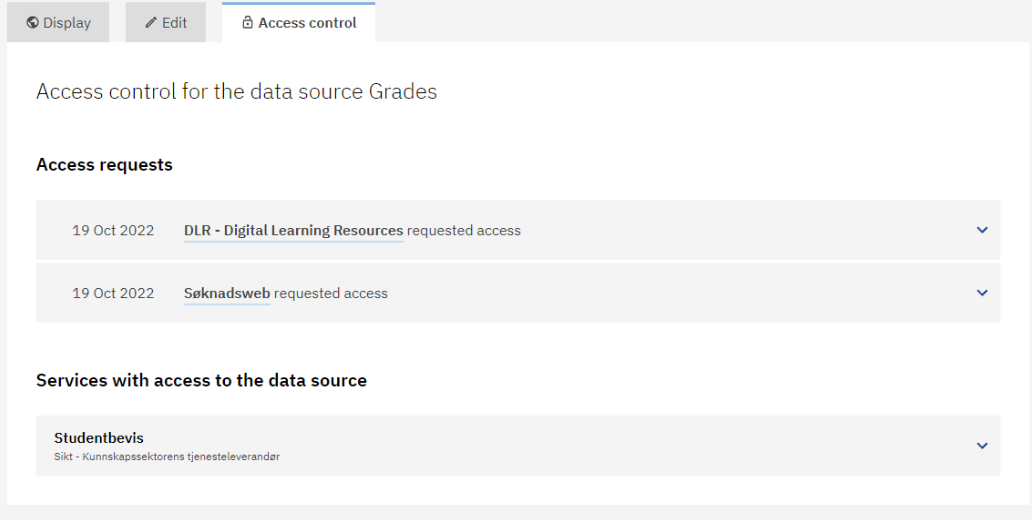
If you deny an access level request, it will disappear from the list. If denying access was done by mistake, the service provider will need to submit the request again.
It can be useful to contact the service provider when denying requests, giving a reason as to why the service was denied access. This must be done outside of the Customer Portal, for example through email.
You can revoke access after granting it if you think the service should no longer retrieve the information.
If you revoke access, contact the service provider, since revoking access to information may affect the service adversely. So, make sure the service providers are informed about the revocation and have had time to adjust.
To revoke access to the data source for a service, go to the data source and then to the Access control tab.
Under “Services with access to the data source”, click on the name of the service.
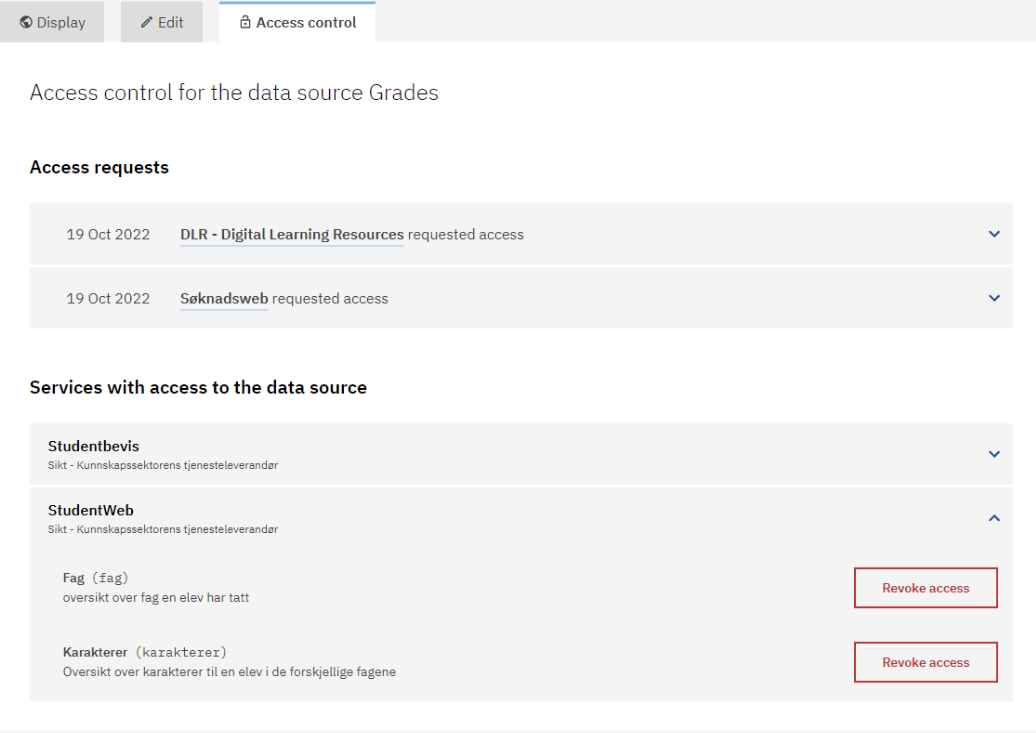
Click on “Revoke access” to the right of the access level and then confirm to revoke access.
When you revoke access the service will disappear from the list under “Services with access to the data source”.