
Manage SAML 2.0 services#
SAML 2.0 metadata is the configuration information that tells the Feide login system how to talk to your service. See our reference documentation for more information.
All SAML 2.0 services must have one or more metadata entries registered. These are different instances of the service.
In some cases, the service only needs a single metadata entry, which covers all users of the service. In other cases, the service design requires you to add a separate metadata entry for each organization using the service. The latter is typically the case where you have a separate domain for each organization.
After registered the service you can add SAML-configuration for the service by clicking “Add OIDC-configuration” under the tab configurations.
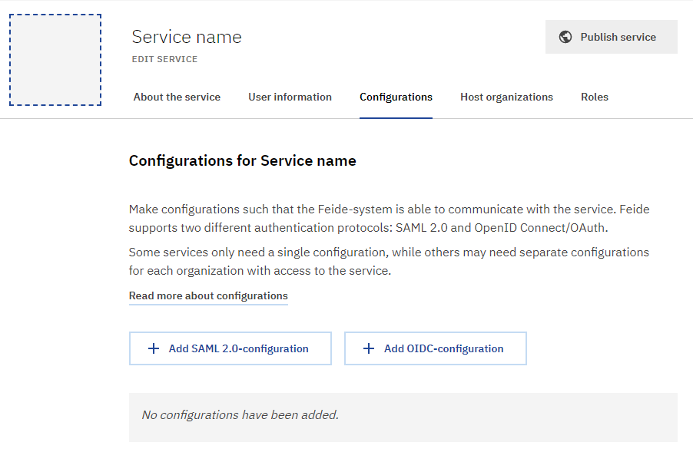
Screenshot of configuration tab when registering a new service
For service that have multiple configurations like needs separate configurations for each organization with access to the service you can enter different name for the configuration to separate multiple configurations in the field “Configuration name”. The name will be displayed when logging in to the configuration as follows: “You must log in via Feide to access <service name> - <configuration name>”.

Screenshot of adding configuration name
In the field “Login page for this configuration” you can add URL for the configuration login page. This is practical for services with multiple configurations and have separate login pages for each host organization.
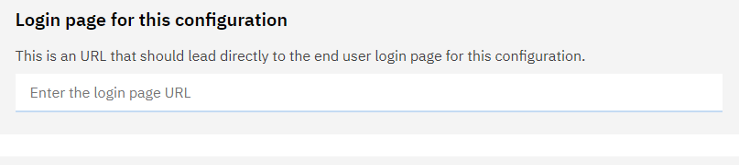
Screenshot of adding URL for login page
Adding metadata#
Under “XML Metadata” you add SAML 2.0 metadata for the configuration.
SAML 2.0 metadata is configured in a XML format. This is typically provided by the SAML 2.0 software / library used in the service.
In some cases the metadata is provided as two or three separate pieces of information (entityID, AssertionConsumerService and SingleLogoutService).
In that case, you can use the “Generate metadata”-button to generate XML metadata from that information.
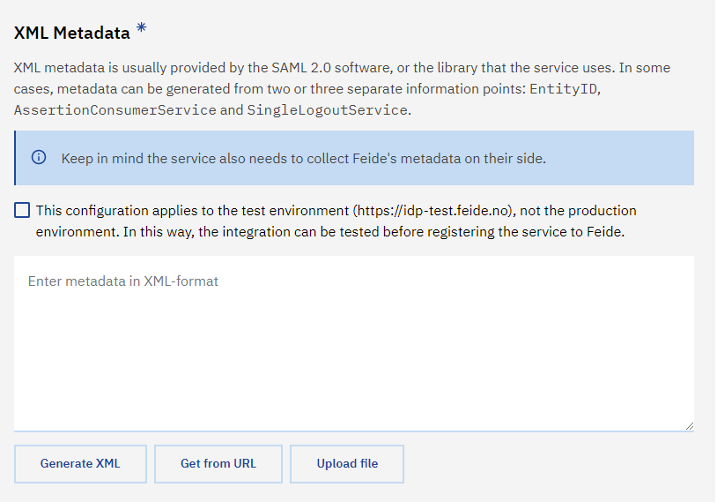
Screenshot of adding metadata
There are two federations you can add metadata to in Feide. The Feide production environment and the Feide test environment. The Feide test environment is located at https://idp-test.feide.no, and is available for testing services. You can also add production metadata for our production environment at https://idp.feide.no, but it will not be active before the service is published.
Check off “This configuration applies to the test environment (https://idp-test.feide.no), not the production environment. In this way, the integration can be tested before registering the service to Feide” if it applies for Feide test environment.
Test users#
The “Test users” section allows you to enable login with Feide test users. For more information about the test users, including how to access them, see our documentation about test users.
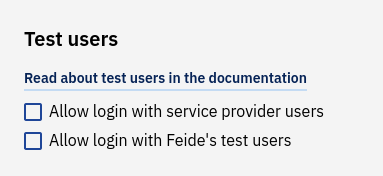
Once you have enabled a group of test users, you can log in by selecting either “Feide test users” (“Feide testbrukere”) or “Feide service providers” (“Feide tjenesteleverandører”) on the login page. See “logging in using test users” for more details.
Note
Remember to deactivate test users for your production service when you are not using them. The test users are publicly known, so others may be able to use the test users to access your service.
Restricting access#
If you have multiple configurations for the service, where only one organization should be able to use this instance, you can configure this using the “Restrict login to selected organizations”-checkbox. This means that only host organizations that are added for the configuration appear as a login option in Feide for the configuration even if they have activated the service. If you choose to use the option to restrict login to selected organizations, you need to keep an eye on who has access for each configuration so it’s up to date.
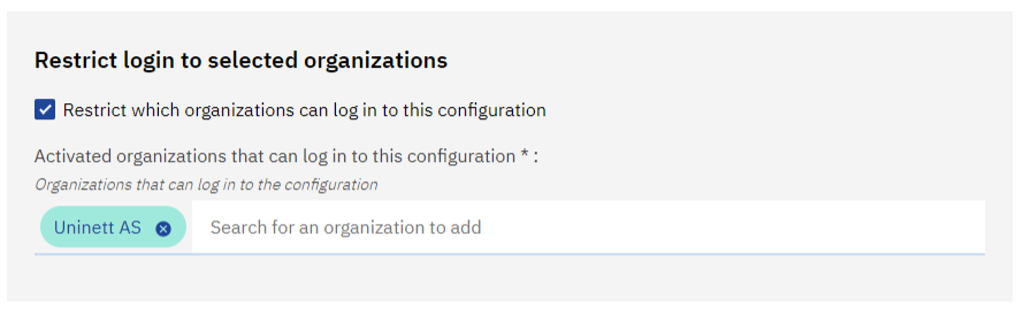
Screenshot of restrict login to the configuration